


Having a properly insulated loft is an important part of ensuring your home is as energy-efficient as possible. And this matters because it saves you money on your utility bills! While insulating a loft might sound like a complex job for a professional, most of the time a competent DIY fan can take on the job. Let’s look at what’s involved.
Getting the right insulation
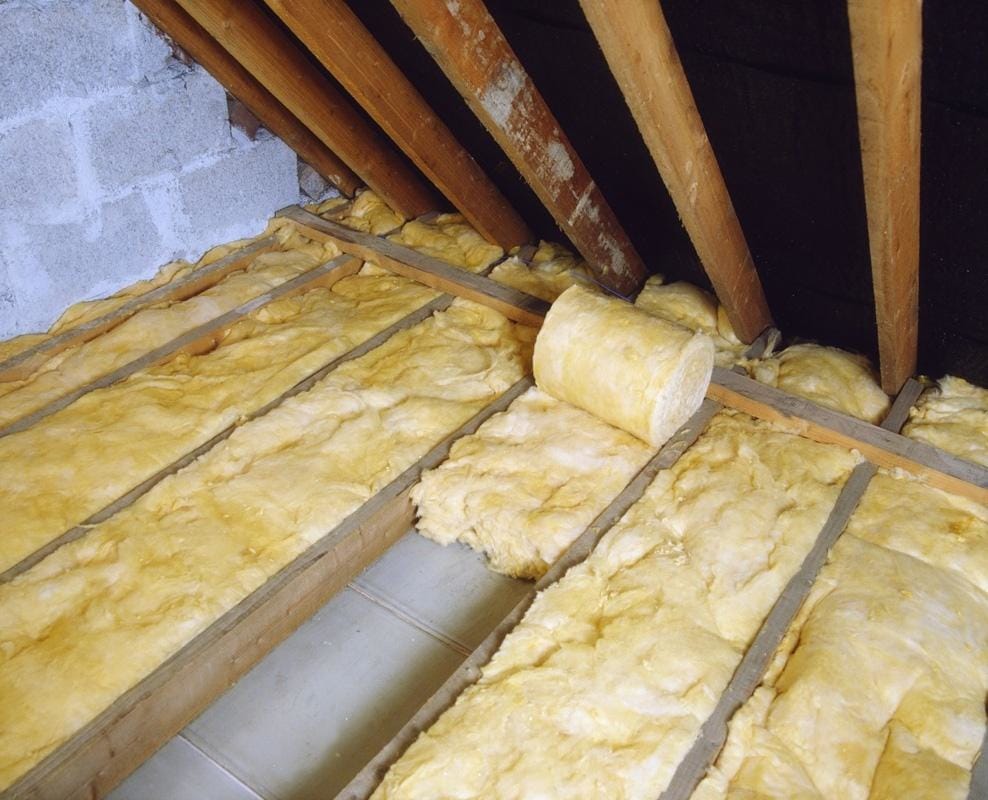
Currently, the government recommends that loft insulation reaches a thickness of 270-300mm. With some brands such as Celotex and Kingspan, you may be able to do this in one layer or you may need to double it to achieve this.
To see how much insulation you need, work out the length by width squared of the loft then check roll coverage. Allow about 10% extra to cover things like ceiling joists.
How to insulate the loftLet’s walk through the steps you need to take to get that loft well insulated and ready to protect your home from the cold of winter.
Insulate the loft features
Inside the loft, you are probably going to have a few features that need insulating first. One example is a cold water tank – if you have one of these you need to have a jacket around it. The manufacturer will be able to supply instructions on how to do this.
Pipes are another thing you are bound to find in the loft. Use special pipe insulate and a cut off knife to cut it to size. Snap it around the pipes and use duct tape to secure it and seal any joins.
Handling electrics
Most lofts will also have electric cables running through them. You mustn't lay insulation over any of these cables. Ideally, clip them to roof joists to move them away from the insulation. Otherwise, lift them out of the way and put them back in place over the insulation when laid.
Also if there are any recessed lights in the rooms below, you will need to get light protectors in place. These stop the insulation coming into contact with hot fixtures that could be a fire risk. Follow manufacturer’s instructions on how to fit these.
Lay the insulation
Now you are ready to lay the insulation. Put the roll in position at one of the room corners and cut to size with a panel saw or a large bladed kitchen knife. You may need to fit it between joists depending on the loft layout.
Start laying from the corner and leave a gap of at least 25mm between the eaves and the first layer for ventilation. Keep the same all the way around. Roll the insulation towards you, ensuring you aren’t leaning on what you just laid.
Gently push it so it first between joists but don’t compress it as this reduces its impact. If you need to join pieces, just push them together.
Cover the loft hatch
Finally, cut a piece to cover the inside of the loft hatch. You may also want to use some of the packagings from the insulation to put over the top. Use a staple gun to pin it around the edges so that you don't come into contact with the insulation when using the hatch.
Boarding the Loft If you're going to board the loft once insulated then I suggest you read our handy guide before doing soing so as the loft insulation between the joists and rafters will need ventilation space